Thread bunching underneath the fabric
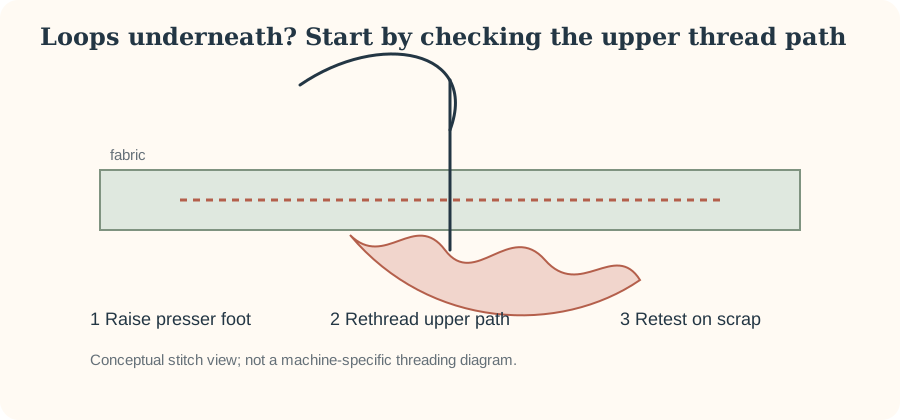
A nest underneath often looks like a bobbin problem, but the first place to check is commonly the upper thread path and tension seating.
Stop and clear the jam safely
Stop sewing, raise the needle if possible and switch the machine off before cutting away tangled thread. Do not yank the project free; that can bend the needle or pull thread deeper into the hook area.
Rethread the upper thread with the presser foot raised
Remove the upper thread completely. Raise the presser foot, then follow every guide and the take-up lever. On many machines, raising the foot opens the tension discs so the thread can seat between them.
Reinsert the bobbin correctly
Confirm the bobbin is the correct type, evenly wound and inserted in the direction shown by your machine manual. Pull the thread through the required slot or tension spring.
Fit a fresh suitable needle
A bent, blunt or incorrectly installed needle can complicate stitch formation. Fit a fresh needle appropriate to the fabric and install it fully in the orientation specified by the machine.
Test at baseline settings
Return to a normal straight stitch and ordinary tension setting recommended by the manual. Test on two layers of stable woven scrap. If the problem persists after correct threading and a fresh needle, consult model-specific support or service.
Diagnose the side where the loops appear
Large loops or a “bird's nest” underneath the fabric often point back to the upper thread path rather than the bobbin. SINGER's current support guidance specifically tells users to rethread the upper path with the presser foot raised so the thread can seat correctly in the tension system.
Reset to a known baseline
Stop sewing, remove the tangled fabric carefully and inspect the needle. Raise the presser foot and rethread from the spool through every guide and the take-up lever. Reinsert the bobbin in the exact orientation shown in your manual. Return tension and stitch settings to the machine's ordinary baseline rather than compensating with extreme values.
Check the take-up lever
A missed take-up lever can leave large amounts of slack in the upper thread. Turn the handwheel to bring the lever into a visible position while threading if necessary. Confirm the thread is actually captured rather than merely passing beside it.
Check the first few stitches
Some machines benefit from the upper and bobbin thread tails being positioned under the foot and toward the rear at the start of a seam. Follow your manual. If bunching happens only at the first centimetre but the rest of the seam is clean, start-of-seam thread handling and stitch settings deserve attention.
Test before touching bobbin tension
Sew on a folded scrap after rethreading. If the loops disappear, you have learned that threading—not an internal adjustment—was the likely variable. Avoid dismantling tension assemblies or turning bobbin-case screws as a first response; model-specific servicing is a later step after ordinary setup checks fail.
When to stop
If the machine repeatedly jams, the needle strikes metal, the handwheel binds, or correct rethreading with a fresh suitable needle does not restore normal stitch formation, stop forcing the machine and consult model-specific support or a qualified service provider.