Why does my upper thread keep breaking?
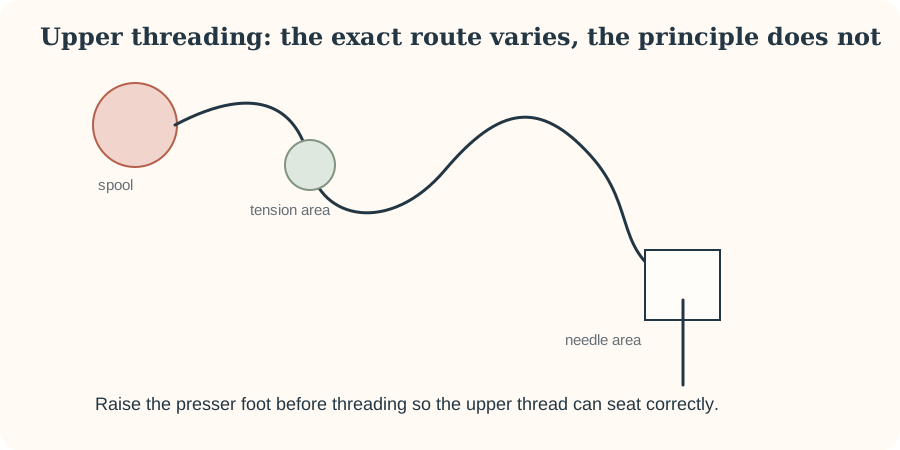
Repeated breakage is a symptom; start with the thread path, needle and spool before assuming the tension mechanism is defective.
Rethread completely
Remove the thread and rethread with the presser foot raised. Check for a missed guide, snag around the spool, or thread wrapped around the spool pin.
Inspect the needle
A damaged needle eye, incorrect needle size or needle installed incorrectly can abrade thread. Replace the needle rather than relying on visual inspection alone.
Try known-good thread
Old, fuzzy or unsuitable thread can break even when the machine is correctly threaded. Use a good-quality general sewing thread for the diagnostic test.
Look for a physical snag
With the machine off, inspect accessible thread-contact areas for obvious burrs or rough damage. Do not dismantle tension assemblies. Persistent breakage after basic checks is a sensible point for service advice.
Trace the upper thread path before changing tension
Upper-thread breakage can come from excessive friction, incorrect threading, a damaged or unsuitable needle, a snagging spool or a mismatch between thread thickness and needle eye. The quickest diagnosis is to restore the whole path to a known baseline.
Rethread with the presser foot raised
Remove the thread completely and rethread every guide, tension path and take-up lever according to the manual. Check that the spool unwinds in the intended direction and that the spool cap or pin arrangement is correct. Look for a notch on the spool edge that can catch thread.
Fit a fresh appropriate needle
A damaged eye can abrade thread. So can a needle that is too small for a heavier thread. Choose the needle type for the fabric/application and a size that accommodates both material and thread, then test on a scrap.
Inspect where the thread is failing
Fraying near the needle suggests a different path than a clean break near the spool. Look for obvious burrs or rough contact points that you can see without dismantling the machine. Do not file or modify machine parts based on a generic web guide; damaged components need model-specific assessment.
Return tension to normal before diagnosing
If the upper tension has been increased dramatically during earlier troubleshooting, return it to the manufacturer's ordinary starting region. Extreme tension can create unnecessary stress, but “turn the tension down” is not a universal cure for incorrect threading or a damaged needle.
Escalate persistent breakage
If known-good thread, a suitable new needle and correct threading still produce repeated breakage on ordinary test fabric, consult the model's support documentation or a service technician. Persistent breakage can indicate a damaged thread path or another machine-specific issue.
Use a controlled comparison spool
If you suspect the thread itself, test a known-good general-purpose spool while keeping the needle, fabric and settings unchanged. If the breakage disappears, inspect the original spool, thread condition and compatibility rather than compensating with machine adjustments.