Sewing machine setup for beginners
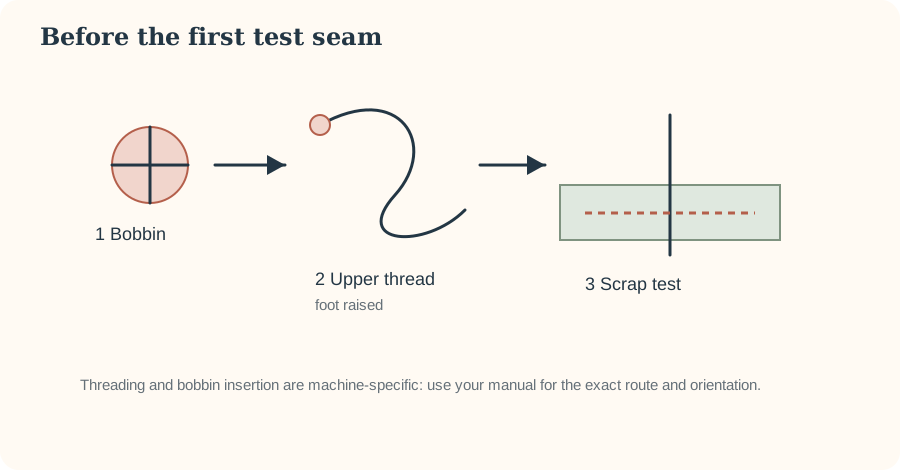
A calm setup routine prevents many beginner problems before they start.
Before you thread anything
Place the machine on a stable surface with enough room for fabric to move without dragging. Fit the correct presser foot for ordinary sewing, install a sound needle in the orientation specified by your manual, and keep the machine switched off while changing the needle or foot.
Wind and insert the bobbin
Use the bobbin type specified for your machine. Wind it evenly rather than overfilling it, then insert it in the direction shown in the manual. Drop-in and front-loading systems route the thread differently, so a generic diagram should never override your model instructions.
Thread the upper path with the presser foot raised
Raising the presser foot commonly opens the tension discs so the upper thread can seat correctly. Follow every numbered guide, take-up lever and final needle guide. Missing one guide can produce loops, breakage or erratic tension.
Run a scrap test
Use a scrap of the actual project fabric, folded to approximate the real seam. Start with a normal straight stitch and a moderate stitch length. Check that the stitches form consistently and that neither thread is making obvious loose loops.
A repeatable setup routine before the first seam
Machine models differ, so the manual is the authority for threading direction, bobbin orientation, needle installation and controls. What can be standardized is the order in which you prepare and verify the machine. A repeatable routine prevents many problems that otherwise look like mysterious tension faults.
1. Start with power and workspace safety
Place the machine on a stable surface with room for fabric to move without hanging heavily from the table. Turn the machine off when changing the needle, installing a presser foot or working close to the needle area. Keep the foot control where it cannot be pressed accidentally while your hands are near the needle.
2. Install a suitable needle correctly
Use the household needle system specified by the manual, choose a type and size appropriate to the fabric, and push it fully into the clamp in the stated orientation before tightening securely. A needle that is bent, damaged or partially inserted can cause skipped stitches, strikes and breakage.
3. Wind and insert the bobbin according to the manual
Use the correct bobbin type; similar-looking bobbins are not necessarily interchangeable. Wind it evenly, place it in the correct direction, and route the thread through the bobbin tension path exactly as shown for your machine. After winding, return the bobbin-winder mechanism to its sewing position if your model requires it.
4. Thread the upper path with the presser foot raised
Raising the presser foot commonly opens the upper tension discs, helping the thread seat between them. Follow every guide and make sure the take-up lever is threaded. Missing one guide can produce loops underneath the fabric even though the problem appears to be “at the bobbin.”
5. Select an ordinary test stitch
Begin with a straight stitch and a moderate stitch length appropriate to your fabric. Fit the presser foot required by the selected stitch and check needle clearance by turning the handwheel in the normal direction if your manual recommends that verification.
6. Test on a folded scrap
Use the same fabric, number of layers and ideally the same interfacing or stabilizer as the project. Sew a short line without pulling the fabric. Check that stitches form consistently, the fabric feeds normally and neither thread is forming obvious loops. A successful scrap test is your baseline before construction begins.