How to sew a straight line
Straight sewing is less about forcing the fabric into line and more about giving yourself a reference, setting up the machine correctly and making small corrections before an error grows.
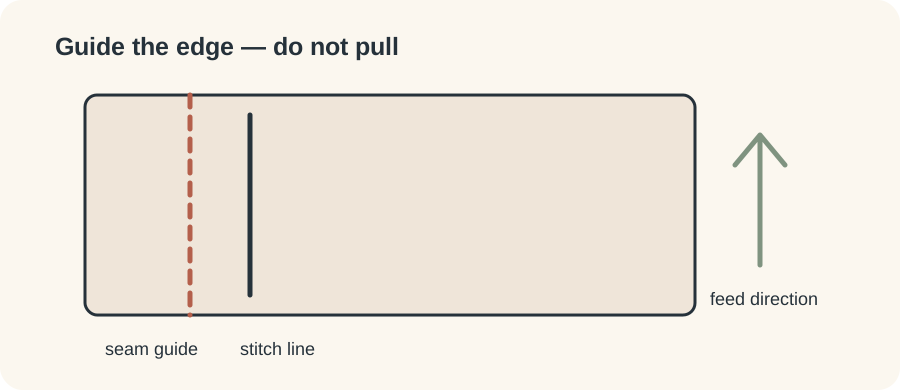
Start with a reliable reference
A beginner often watches the needle. That makes tiny movements look dramatic and encourages over-correction. Instead, choose a reference farther to the right: a seam guide on the needle plate, the edge of the presser foot, removable tape placed on the machine bed, or an adjustable seam guide if your machine accepts one. Align the raw fabric edge with that reference and let the feed dogs move the fabric.
Before the real seam, sew on a scrap cut from the project fabric. Use the same number of layers, needle, thread and presser foot. A trial under the same conditions tells you much more than stitching a single unrelated scrap.
Use your hands to guide, not drag
Place your hands lightly on either side and in front of the presser foot, far enough from the needle to be safe. Your job is to keep the fabric edge tracking along the guide. Do not pull from behind: pulling can distort the fabric, alter stitch formation and deflect the needle. If the seam starts wandering, slow down and correct gradually over several stitches.
Control speed before chasing accuracy
Use a moderate or slow speed while learning. If your machine has a speed limiter, reducing the maximum speed can make the foot pedal easier to control. Stop with the needle safely positioned when you need to rearrange your hands. Consistency matters more than sewing quickly.
Practice with a useful drill
Draw several parallel lines on scrap woven fabric with a removable fabric-marking tool. Sew the first line directly, then sew the remaining lines using a seam guide rather than staring at the needle. Repeat with two layers so the exercise resembles a real seam. Finally, practice maintaining a 5/8-inch or 1/2-inch seam allowance without a drawn line.
If the seam still wanders
Check whether the fabric is being pulled by its own weight off the table, whether the presser foot is appropriate, and whether the needle is bent. Slippery or very light fabric may need more careful handling or temporary stabilization. A machine that consistently feeds to one side even on stable cotton may warrant cleaning, a fresh needle and a manual/service check rather than stronger hand pressure.
Build consistency into a real project
Accuracy is easier when the setup supports it. Keep most of the project on the table rather than hanging from the machine, because hanging weight can pull the seam sideways. Arrange pins or clips so you can remove them before they reach the needle; do not sew over pins. If the fabric edge is irregular, a marked seam line may be more reliable than using the edge as the only reference.
After sewing, measure the seam allowance at several points instead of judging only by appearance. If it varies, identify whether the error begins after you reposition your hands, at thick intersections or near the end of the seam. That turns practice into diagnosis. Once you can hold a consistent allowance on stable cotton, repeat on a slippery or thicker fabric rather than assuming the skill transfers unchanged.