Why are my seams puckering?
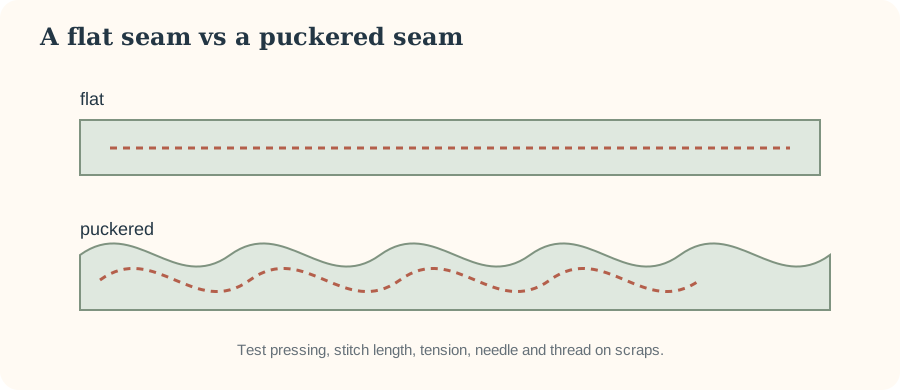
Puckering can come from the stitch system or from the fabric itself, so diagnose on scraps before changing several settings.
Press first
Some seams look worse immediately after stitching than after correct pressing. Press according to the fabric’s heat tolerance before deciding the seam is defective.
Test stitch length and tension
Very short stitches or excessive tension can contribute to puckering on light fabrics. Return to normal baseline settings, rethread correctly and test modest changes one at a time.
Check needle and thread
An unnecessarily large needle or heavy thread can distort fine fabric. Choose a combination appropriate to the material and test it on the same number of layers.
Consider structural puckering
Some fabrics shift between layers or shrink differently along a stitched line. Stabilization, careful handling and presser-foot choices may help; the right solution depends on the fabric and seam.
Puckering has more than one cause
A puckered seam can result from thread tension, stitch density, fabric feeding, needle/thread choice, handling or the material itself. The useful diagnosis is to change one variable at a time on scraps rather than immediately turning the tension dial.
First distinguish gathering from distortion
If the fabric is visibly being drawn up by the stitches, compare the seam before and after gently relaxing it. If layers have shifted relative to one another, feeding may be the larger issue. If the fabric is heat-sensitive, pressing can also create or reveal distortion, so test the iron separately.
Return to ordinary threading and tension
Rethread the upper path with the presser foot raised and confirm bobbin insertion. Use a suitable fresh needle. Return tension to the normal starting region for your machine, then sew a labelled sample before making small changes.
Consider stitch length and needle penetrations
Very short stitches create many penetrations and can make fine or tightly woven fabric look drawn. Try a modestly longer stitch on a scrap while keeping other variables constant. Conversely, do not use an excessively long stitch simply because the fabric is heavy.
Let the machine feed the fabric
Pulling from behind can stretch or distort one layer. Support the project and guide it lightly. If layers creep, an appropriate compatible foot or different basting/handling technique may help, depending on the material.
Press only after testing
Pressing can improve an ordinary seam, but it cannot reliably cure a fundamentally mismatched setup. Test temperature, steam and pressure on a scrap—especially synthetics, coated fabrics and materials prone to marking.
Compare along-grain and cross-grain scraps
Some fabrics respond differently depending on sewing direction. If puckering appears only on particular seams, test scraps cut in the same orientation as the problem seam. That can help separate a general machine setup issue from fabric behaviour.