Stitch length explained
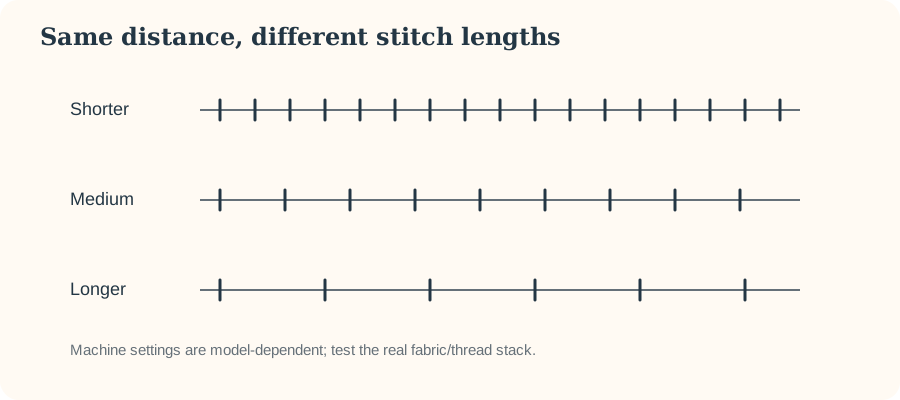
Stitch length is the distance the machine advances between stitches; it changes the look, flexibility and behaviour of a seam.
A useful starting range
For ordinary construction on many medium-weight woven fabrics, a moderate stitch length around 2.5 mm is a common starting point. Finer fabrics may suit shorter stitches; topstitching and heavier materials often use longer stitches. These are starting points, not universal rules.
Why very short is not always stronger
More stitches per inch can perforate or pucker some fabrics and can make mistakes difficult to unpick. Strength depends on fabric, thread, seam type and stitch formation—not simply the greatest possible number of stitches.
Basting and gathering
Longer straight stitches are useful when you intend to remove the stitching later or pull bobbin threads for gathering. Secure permanent seams according to the pattern rather than assuming a basting stitch is suitable.
Test the real stack
A single layer can feed differently from two layers plus interfacing. Test on a scrap that reproduces the project layers and press it before deciding whether the stitch length looks right.
Stitch length is a starting setting, not a quality score
On many domestic machines, stitch length describes how far the fabric advances between stitches. A moderate default is suitable for a wide range of ordinary seams, but fabric structure, thickness, seam purpose and thread can justify changing it. Your manual explains the scale used by your machine.
Shorter is not automatically stronger
Very short stitches place more needle penetrations into a given distance of fabric. On some materials that can make a seam stiff, difficult to unpick or even weaken the fabric by perforating it excessively. Dense decorative stitches are a separate case and may require a compatible foot and specific settings.
When a longer stitch can help
Longer stitches are commonly used for basting and can be useful on thicker materials where a tiny stitch would look cramped. Topstitching may also use a longer stitch for appearance. Do not assume the longest setting is appropriate for heavy fabric; needle, thread, layers and machine capability still matter.
Knits and stretch are about stitch type as well as length
A straight stitch may break when a seam needs to stretch. Depending on the project and machine, a narrow zigzag or designated stretch stitch may be more appropriate. Follow the pattern and machine guidance and test recovery on a scrap.
Use scraps to choose deliberately
Fold the scrap to the same number of layers as the real seam. Sew several labelled samples while changing only one setting. Check appearance on both sides, seam flexibility, puckering and how the fabric feeds. Keep the sample or write the successful setting in your project notes.
If stitches suddenly look wrong
Do not assume stitch length is the cause. Check threading, bobbin insertion, needle condition/type/size and presser foot first. A setting that worked yesterday should not suddenly require extreme tension changes without another variable having changed.