Straight stitch vs zigzag stitch
Straight and zigzag are basic stitches, but choosing between them depends on what the seam must do—not simply which one looks neater.
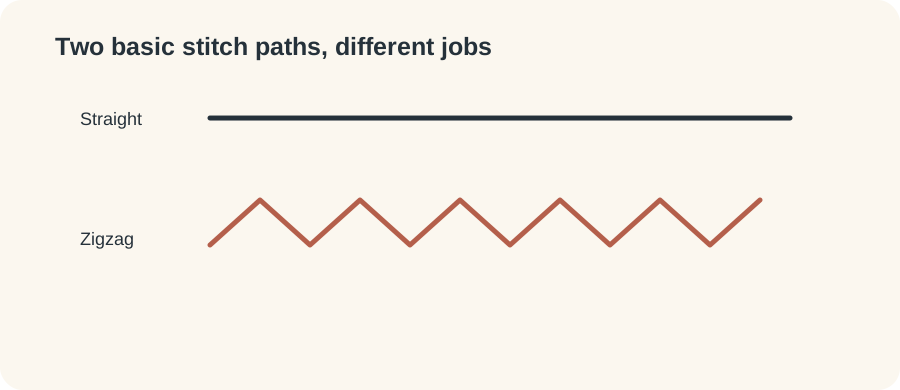
Straight stitch: the construction default for many wovens
A straight stitch forms a single line and is widely used for ordinary seams, topstitching and basting on stable woven fabrics. It has little inherent sideways give. If the fabric or seam must stretch substantially, a conventional straight stitch can pop when the material is pulled.
Zigzag: width adds useful movement
A zigzag moves the needle from side to side as the fabric advances. That width can allow more movement than a straight line, which is why a narrow zigzag can be useful on some knit seams. Zigzag is also commonly used to reduce fraying at raw woven edges and for appliqué or other applications. Stitch width and length need to suit the job.
Stretch stitches are a third category
Many modern machines include stitches designed for stretch fabrics. Their names and symbols vary. Do not assume a particular decorative-looking symbol is the right stretch stitch; use the machine manual. A pattern may also specify a narrow zigzag or serger instead.
Choose by function
Ask four questions: Does the seam need to stretch? Is the edge being joined or merely finished? Will the stitching be visible? Does the pattern specify a stitch? For a cotton tote seam, straight stitch is a natural starting point. For a fitted knit seam, a stretch-capable stitch is more likely to survive movement. For the raw edge of a woven seam allowance, zigzag can be an accessible finishing option.
Scrap-test the seam, not just the stitch
Sew the actual number of layers and then gently load the seam in the direction it will experience in use. Look for broken stitches, tunnelling, puckering and excessive waviness. Adjust one variable at a time and record the combination that works.
Useful sample test for stretch seams
Cut two strips across the stretch direction of the project knit. Join one with the proposed straight stitch and one with a narrow zigzag or the pattern-recommended stretch stitch. After sewing, stretch each seam only as much as the garment will need in use. Listen and look for thread breakage, then let the seam recover.
A stitch that survives stretching but creates a wavy, bulky seam is not automatically successful. Presser-foot pressure, differential feed on a serger, stabilisation and handling can affect waviness. On a regular machine, avoid stretching the fabric behind and in front of the foot unless a technique specifically requires it.