Simple lined tote bag
Practice straight seams and simple bag assembly with a rectangular lined tote.
Beginner+
Straight seams · lining · handles
1/2 in unless stated
Prewash as appropriate
Cutting plan
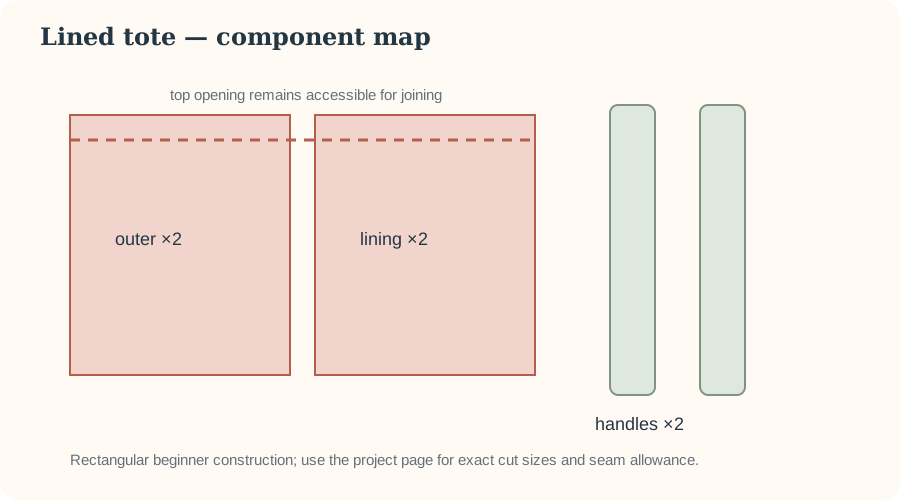
This teaching version uses two outer rectangles and two lining rectangles, each 15 × 17 in, plus two handle strips 4 × 24 in. The exact finished size depends on seam allowance and top-edge construction; the project uses 1/2 in side/bottom seams.
15 × 17 in
15 × 17 in
4 × 24 in
1. Make the handles
Press each long handle strip in half lengthwise, then press raw long edges toward the centre. Fold again and topstitch both long sides. Confirm the finished width feels comfortable before attaching.
2. Sew outer and lining bags
With right sides together, sew the sides and bottom of the outer pieces. Repeat for the lining but leave a hand-width opening in the lining bottom for turning. Backstitch at both ends of that opening.
3. Join at the top
Turn the outer bag right side out and place it inside the lining so right sides face. Position handles between the layers, untwisted and symmetrically spaced. Sew around the top edge, then turn through the lining opening.
4. Finish
Close the lining opening by machine close to the folded edge or by hand. Push the lining inside, press the top edge and topstitch if desired.
Before cutting valuable fabric
- Confirm the measurements suit your intended use.
- Account for directional prints, nap and shrinkage.
- Test needle, thread, stitch length and seam allowance on scraps.
- Read the complete construction sequence once before starting.
Beginner construction notes
A tote adds one important challenge to a basic rectangle: the straps carry load. Treat strap placement and seam reinforcement as functional construction details, not decoration. This research-developed project is suitable for learning, but it has not been physically load-tested by Sewing Skillbook.
Choose fabric with structure in mind
Stable medium-weight woven fabric is easier for a first tote than a stretchy knit. Very heavy canvas can create bulky intersections beyond what some domestic machines handle comfortably. If using lining or interfacing in a future variation, recalculate bulk and construction order rather than simply adding layers to the existing instructions.
Make the straps consistent
Mark folds before stitching and check both straps against each other for length and width. Keep the long edges parallel so the strap does not twist visually. Pressing after each fold usually improves control more than trying to force the shape under the presser foot.
Place handles symmetrically
Measure strap positions from the same reference points on both bag panels. Confirm that neither strap is twisted before securing it. Temporary basting can prevent handles from shifting while the top edge is sewn.
Reinforce appropriately
Areas where straps meet the bag experience repeated stress. Follow the project's reinforcement stitching accurately. For genuinely heavy loads, a bag design should be engineered and tested for that use; do not assume a beginner tote is suitable simply because the fabric feels strong.
Final checkpoint
Compare strap lengths, check that the opening is not accidentally caught, inspect seam allowances and test the empty bag by lifting it gently. If the machine struggled at a bulky intersection, investigate needle/fabric/layer compatibility before making another rather than forcing the same setup.
Looking for your next sewing challenge?
After practising straight seams, lining and handles on this tote, you may want to try a downloadable garment pattern. Winslet’s offers beginner sewing patterns; Sewing Skillbook has not independently tested them, so review the current pattern details before purchasing.
Reader discount: Use code SEWINGSKILLBOOK for 10% off at Winslet’s. The discount is provided by Winslet’s and may be subject to its current terms.