How to sew curves
Curves become manageable when you slow down, keep the seam line parallel to the edge and make frequent small directional changes instead of one large turn.
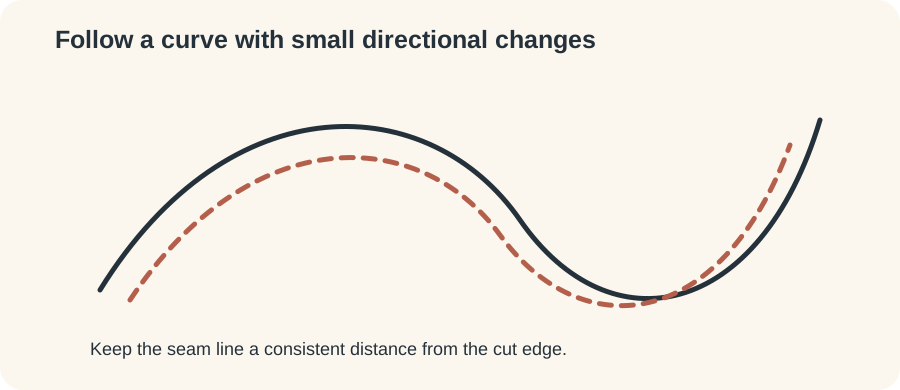
Guide a curve gradually
Brother’s sewing guidance recommends sewing slowly while keeping the seam parallel to the fabric edge. On a gentle curve you can guide continuously; on a tighter curve, stop periodically with the needle down, raise the presser foot if needed, make a small adjustment, lower it and continue.
Match curved pieces without stretching them
When two differently shaped curved edges are sewn together, notches and match points matter. Bring the designated points together first, then distribute the fabric between them. Avoid stretching a bias-heavy curve merely to make raw edges look equal before they reach the needle.
Clipping and notching happen after sewing when required
A concave seam allowance may need clips so it can spread when turned; a convex allowance may need notches or grading to remove bulk. Clip only within the seam allowance and never through the stitching. The pattern may give specific instructions.
Press curves over a shape when useful
A tailor’s ham or rolled towel can support a three-dimensional curve while pressing. Do not flatten a shaped seam simply because a flat ironing board is convenient. Use heat appropriate to the fibre and test delicate fabric.
Practice both directions
Draw broad S-curves on stable scrap fabric. Sew once directly on the line, then repeat using a consistent seam allowance from a cut curved edge. This teaches your hands to guide rather than pull and makes it obvious when you are looking too close to the needle.
Convex and concave curves behave differently
A convex seam allowance has excess material when turned toward the inside and may need notching or grading to reduce bulk. A concave allowance must spread and may need clipping. The closer the curve, the more important controlled clipping can become. Never cut across the stitch line, and use the pattern’s directions for specialist fabrics.
When joining two curved pieces, matching the raw edges can look impossible because one edge appears longer. Match the designated endpoints and notches first. The seam lines—not necessarily the raw cut edges—are the geometry that must sew together. Work in short sections and keep the lower layer from creeping. A practice version in inexpensive fabric is especially valuable before sewing a collar, princess seam or tight armhole curve.