Sewing pattern symbols explained
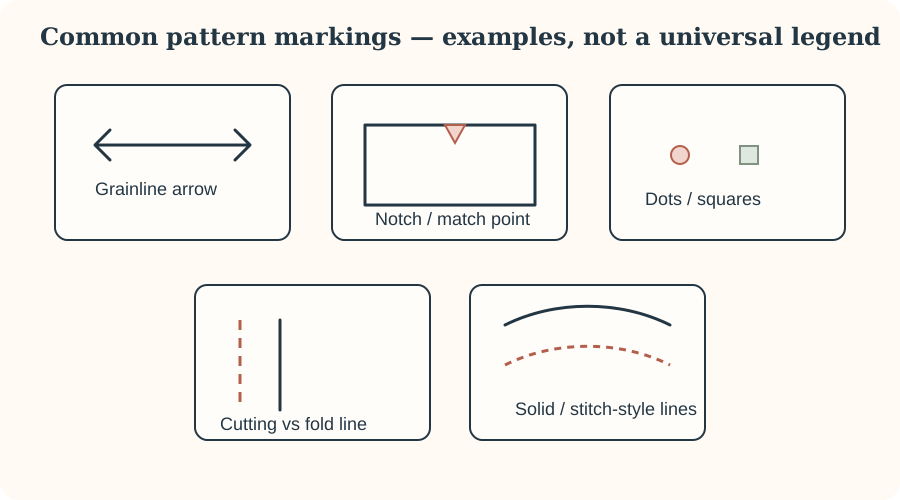
Pattern markings are instructions carried on the paper; transferring the important ones makes construction easier.
Grainline arrow
The long arrow is normally aligned parallel to the fabric selvage unless the pattern explicitly says otherwise. Measure from each end of the arrow to the selvage and adjust until the distances match.
Notches
Notches help match corresponding edges and identify front/back or specific seam points. Mark them consistently without cutting so deeply that you weaken the seam allowance.
Dots, circles and squares
These can indicate pivot points, pocket positions, dart ends, gathering limits or other construction landmarks. Their meaning comes from the pattern instructions, so transfer them accurately.
Fold and cutting lines
A fold line means that edge is placed on a fabric fold and is not cut as a separate seam edge. Multi-size patterns may show several cutting lines; trace the intended size carefully before cutting.
The pattern markings beginners need to recognize
Pattern symbols are a compact set of instructions printed directly on the pieces. They tell you how to orient the piece, what to match, where shaping occurs and which construction points must be transferred to the fabric. Use the legend supplied with your pattern because exact symbols vary.
Grainline and place on fold
A grainline is commonly shown as a long arrow. On woven fabric it is normally positioned parallel to the selvage unless the pattern states otherwise. A place-on-fold marking means the indicated pattern edge sits on the fold and is not cut along that fold; opening the fabric produces a full symmetrical piece.
Notches
Notches are registration marks along seam edges. Matching the corresponding notches helps distribute curves, identify front/back relationships and keep long seams aligned. Transfer them in a way that remains visible but does not weaken the seam area; never make a deep cut beyond the seam allowance.
Dots, circles, squares and placement marks
Interior marks can indicate where stitching stops, a pocket is positioned, gathering begins, a collar joins or another construction event occurs. Transfer the marks before removing the pattern piece. Choose chalk, removable marker, tailor's tacks or another method appropriate to the fabric, and test marking tools on a scrap first.
Darts
Dart lines remove a wedge of fabric to create three-dimensional shape. Transfer the dart legs and point accurately. Pattern instructions determine how the dart is folded, stitched and pressed; do not assume every dart points or presses in the same direction.
Lengthen/shorten lines
These parallel lines identify the area intended for length adjustment while preserving the overall shape more effectively than simply adding or removing material at the hem. After an alteration, true the affected edges so the cutting lines flow smoothly.
Cutting and stitching lines
Multi-size patterns may show several nested cutting lines. Trace or highlight your chosen size before cutting. Some patterns print stitching lines while others expect you to sew a stated seam allowance from the cut edge. Confirm which system your pattern uses.